This is a trick I learned in a sewing class that I thought was too good not to pass along. I hope I use the right terminology but I won't promise anything. LOL
Step 1: Put down your feed dogs on your sewing machine. I have a button on the side of my machine that I push in and the feed dogs go down. You may have to refer to your manual on this. Here is a picture of my feed dog button. The feed dogs are the things under the needle that pull the fabric through for you when you sew.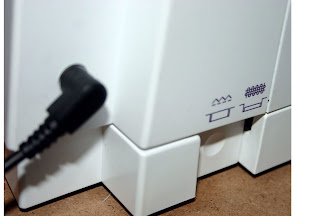
Step 2: Change your stitch type to ZIG ZAG. Almost all machine have a zig zag stitch. It looks like this on my machine - Stitch #2. Depending on the button you may also have to change your stitch length but I've never had to do this for the buttons I have sewn on.

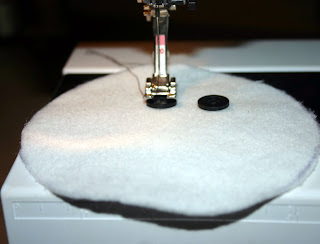
Step 3: Place button under the pressure foot of the sewing machine like so. Try to line up the holes with the needle placement.
Step 4: Manually turn the big round button on the side of your sewing machine to make sure the needle will go through the holes of the button without touching the button. **This is extremely important. If you just start using your foot pedal at this point and the button is not lined up the needle could break and you may start crying :(. Make sure the needle will go through both holes you may have to turn the wheel twice to make sure.
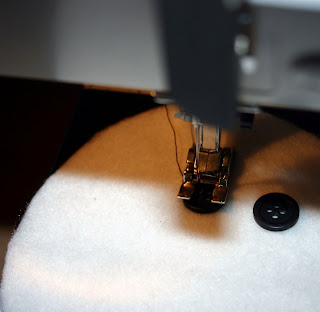
Step 5: Step on the gas once you see the needle will Zig and Zag from one hole to the other on the button without touching. Stitch as many times as you want to make it sturdy.
Step 6: Remove from machine..Repeat if necessary for a button with more than 2 holes.
Step 7: Yeah! You can sew on buttons now with your machine!!!
No comments:
Post a Comment